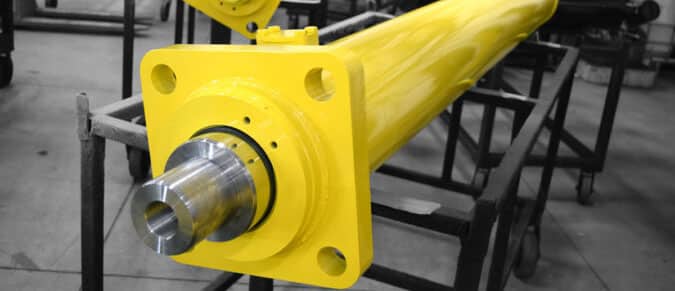


Servicing Your Snap Ring Hydraulic Cylinder
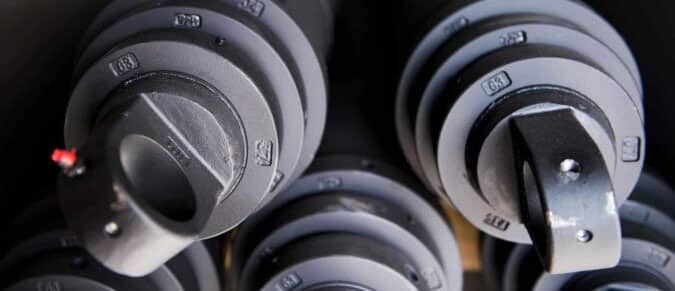
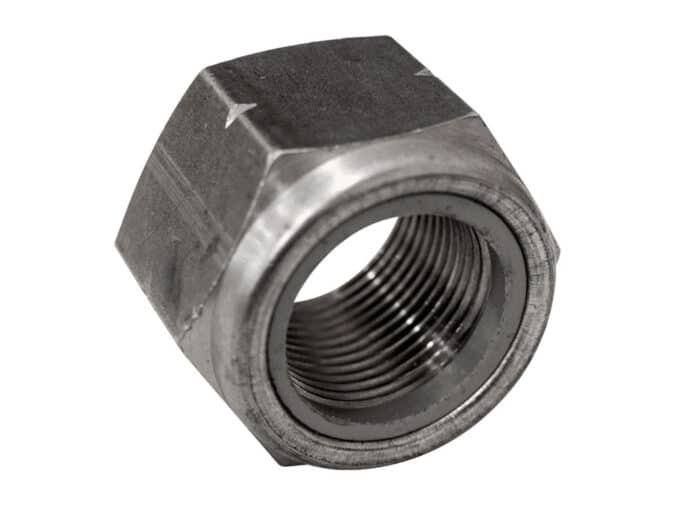
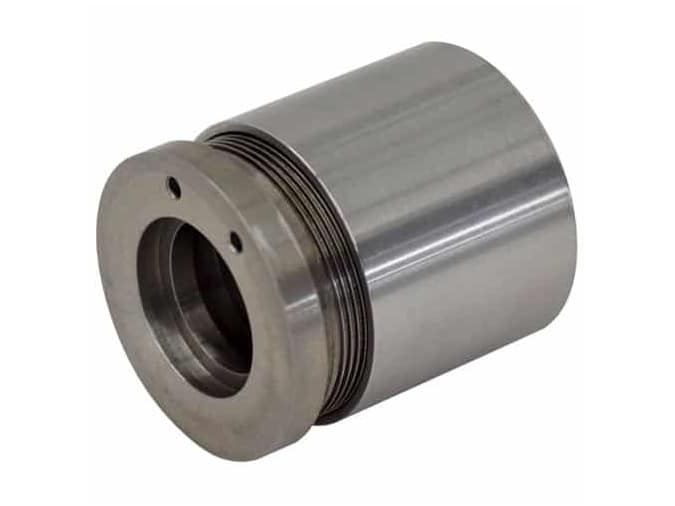
Snap ring hydraulic cylinders feature a snap ring installed into a groove at the gland near the cylinder’s rod end. These snap rings retain the seal packing while keeping contamination and particulates away from the hydraulic cylinder seals. They are held in place by an end cap, rod guide, or other component part. By servicing your snap ring hydraulic cylinder, you can quickly and easily identify worn, cracked, or damaged snap rings and cylinder seals.
Prepare a Workspace for Servicing Your Hydraulic Cylinder
When doing any work on a hydraulic cylinder, prepare an orderly and clean workspace to avoid contaminating your machinery. For servicing a snap ring cylinder, you will need:
- Hammer and punch
- Snap ring pliers
- Container for catching any hydraulic fluid
- Clean, lint-free cloths
- Replacement hydraulic cylinder seal kit (search by equipment model)
Always consult your equipment’s manual before attempting any component part installation as exact processes can vary.
How to Replace Snap Rings and Seals while Servicing Hydraulic Cylinders
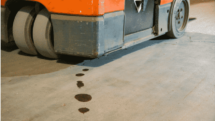
When servicing your hydraulic cylinder to replace snap rings or seals, always pay attention to each component part’s location while disassembling your equipment. By doing this, you can be sure that you return each part to its correct placement upon reassembly. This is also an ideal time to check for fluid leaks, corrosion, or complete other preventative maintenance.
- Ensure your cylinder is held firmly in a vice or clamp. Be careful not to crush or damage the barrel.
- Release all pressure from the cylinder.
- Drain all hydraulic oil and remove necessary fittings. Use clean cloths to absorb or clean any remaining oil.
- Carefully pull the rod until the piston meets the gland. Protect the rod from any dings, dents, or damage, especially if you are using a vice to keep the barrel in place.
- Position the snap ring so you can easily view the two pre-drilled holes. This step may require a hammer, punch, or other tools.
- Insert the snap ring pliers into the snap ring’s holes. Be mindful not to damage or dent the rod during this process.
- Close the pliers and compress the snap ring.
- Remove the rod. Push the rod into the cylinder a few inches before pulling it straight out. A partner can help keep the rod from swinging or falling if dealing with a larger cylinder. This process may also require a hammer to strike a cross bar lightly until the snap ring pops free from the hydraulic cylinder.
- Repack your hydraulic cylinder. Follow all specified installation steps to replace O-rings, seals, and snap rings with new component parts.
- Reassemble your hydraulic cylinder. Hydraulic oil can be applied to lubricate your equipment.
- Replace your snap ring. Once again, using the snap ring pliers, compress the snap ring and complete installation by seating the ring into the hydraulic cylinder’s groove. There should be a gap between the snap ring’s open ends.
- Test for correct installation. Before replacing your hydraulic cylinder into your equipment, check for internal or external leaks to ensure your machinery can function as designed.
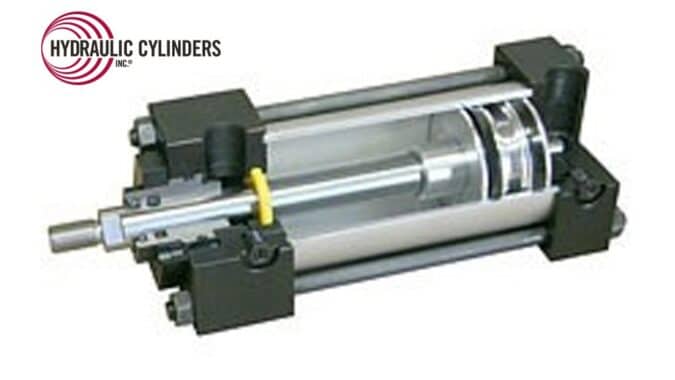
HCI Can Help Replace Your Snap Rings & Service Your Hydraulic Cylinder
From supplying replacement component parts to providing comprehensive how-to knowledge, Hydraulics Cylinders, Inc. is your top source for all things related to hydraulic cylinders. If you are not sure how to service your snap ring cylinder, require assistance selecting the best seal kit, or have questions about replacing your hydraulic equipment, contact us today.